
-
 Package
-

-

-

-

-


ULTRAGRID® Tiles Double Garage Floor Kit 6x6M, Single Colour
ULTRAGRID® Tiles Double Garage Floor Kit 6x6M, Single Colour

ULTRAGRID® Single Colour Floor Kit. 240 open-rib ventilated tiles + 16 ramps for a 6×6 m double garage. Details
Couldn't load pickup availability
- Free shipping Australia-wide
- Australian replacement warranty
- 40-day easy returns
- Australian owned — ships from AU
- Need help? 1300 148 799
In the garages of


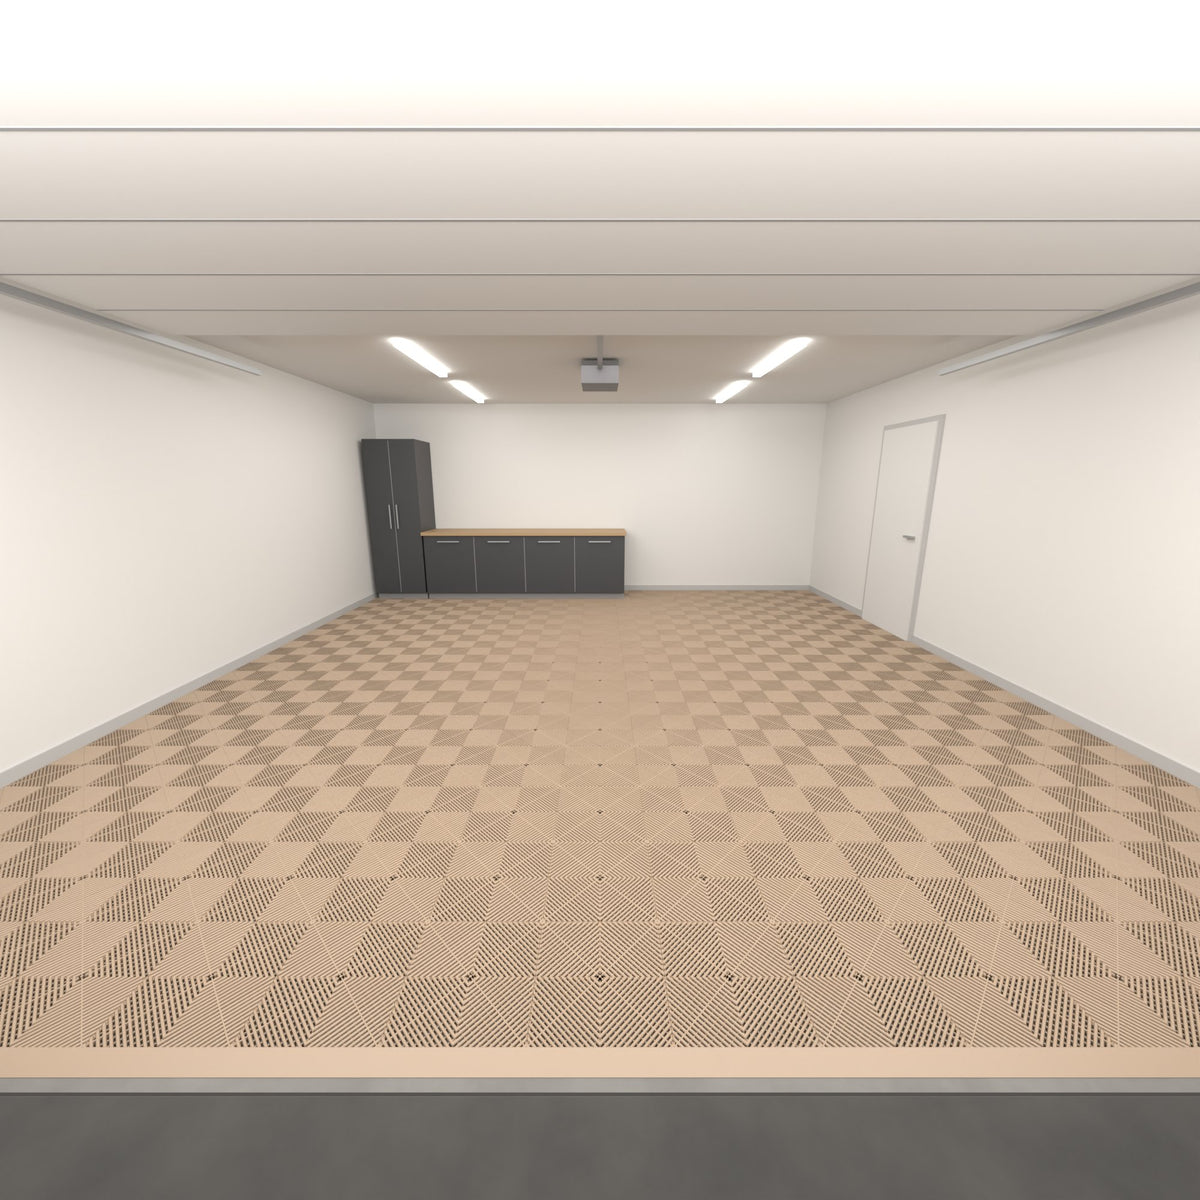


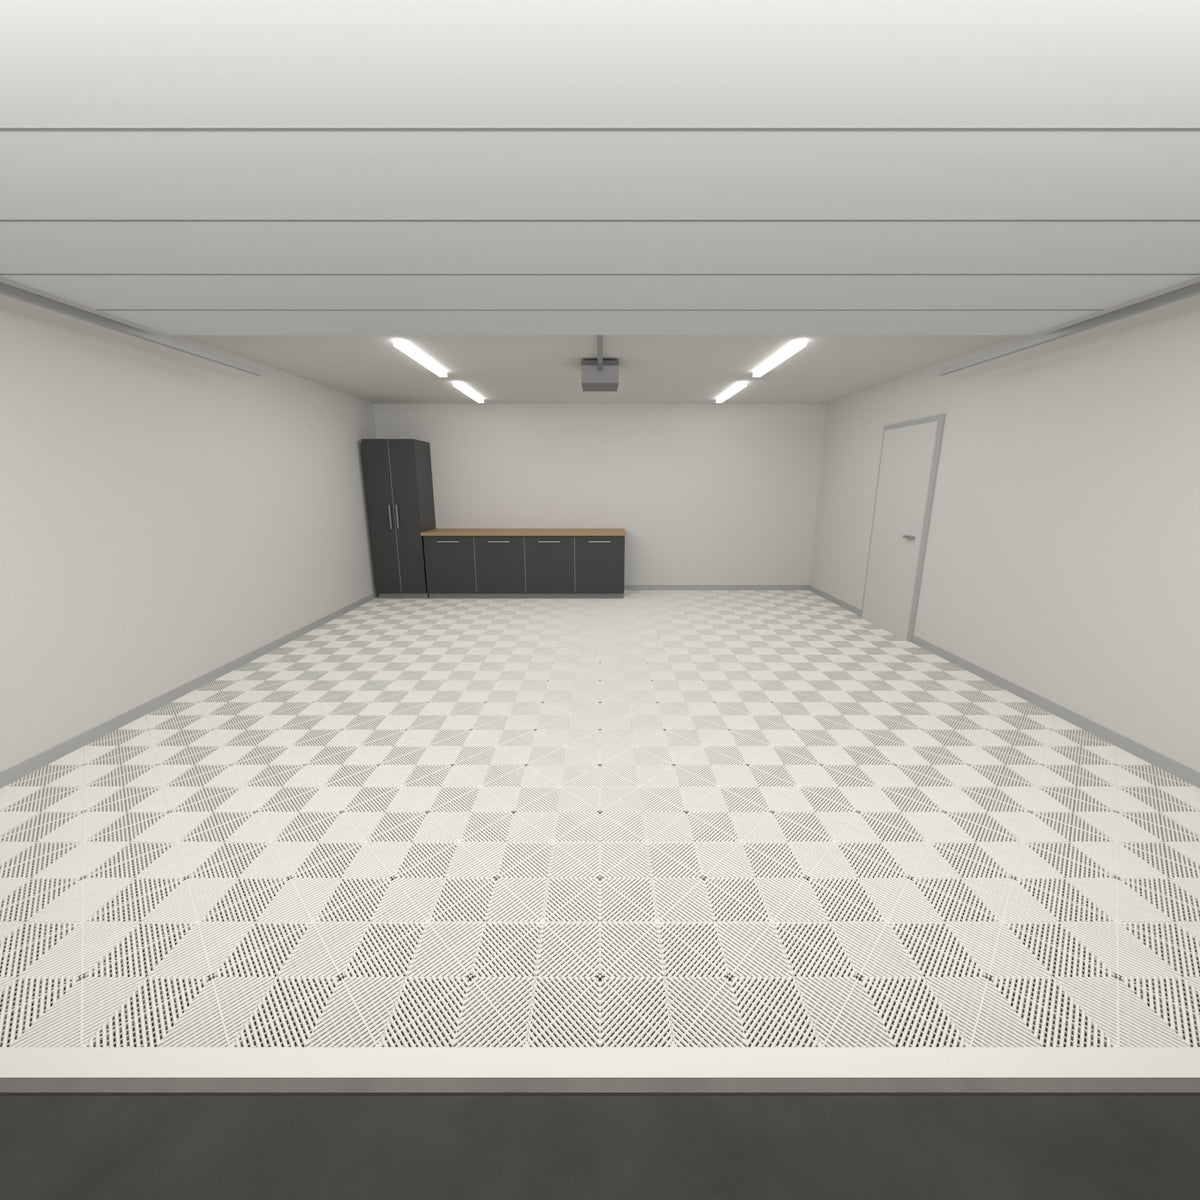
The ULTRAGRID® Single Colour Floor Kit is a durable, versatile modular floor for a standard 6 × 6 m double garage. Inside the box you get 240 tiles (225 floor tiles plus 15 spares) and 16 ULTRAEDGE ramps — everything needed to transform bare concrete in a single afternoon.
- Complete kit — 240 ULTRAGRID® tiles (225 floor + 15 spares) and 16 ULTRAEDGE ramps for a 6×6 m garage.
- Single Colour — one unbroken colour across the entire ULTRAGRID® floor for a clean, uniform look.
- Open-rib ventilated surface — raised ribs with drainage channels promote airflow and shed moisture on contact.
- Low maintenance — top and side channels on each ULTRAGRID® tile drain water and debris. Vacuum, sweep, or pressure wash to keep it clean.
- 20t/m² load rating — park cars, SUVs, utes, and workshop equipment on your ULTRAGRID® Single Colour floor with complete confidence.
- Full DIY install — click ULTRAGRID® tiles together by hand in 4–6 hours. No adhesive, no trades, no curing. Drive on immediately.
- Built for Australian conditions — 100% virgin polypropylene, UV-stabilised. Resists oil, fuel, brake fluid, and solvents. Rated −40°C to +120°C.
- Portable and replaceable — lift the floor and take it with you if you move. Swap a single damaged tile without disturbing the rest of your Single Colour layout.
Technical Specifications
Installation Guide
What you'll need
- Tape measure
- Rubber mallet
- Jigsaw (for edge cuts)
- Marker or pencil
- Broom
Time estimate
- Single garage (20-25 sqm): 4-6 hours
- Double garage (40-50 sqm): 6-10 hours
- No curing time — drive on immediately
Installation steps
-
1
Start from the entrance
Begin laying tiles at the garage door corner. Leave a 5–10mm expansion gap at all walls.
-
2
Lay the first row
Complete your first row across the garage, clicking tiles together. The interlocking pegs and loops do the work.
-
3
Fit entrance ramps
Attach ramp trims to the first row and slide the row snug against the garage door.
-
4
Centre your design (optional)
If your design has a centred pattern, adjust the first row to leave equal gaps on both sides.
-
5
Lay remaining tiles
Continue laying rows towards the back and side walls, clicking each tile into the previous one.
-
6
Trim edges and finish
Cut edge tiles with a jigsaw, click them in, and your floor is ready to use immediately — no curing time.
Shipping
Free shipping Australia-wide on all orders.
Orders are dispatched from our warehouses in Melbourne, Sydney, or Brisbane within 1-2 business days. We ship from the closest warehouse to you for fastest delivery.
Standard delivery typically takes 3-7 business days depending on your location. Express shipping available at checkout for metro areas.
Warehouse Pickup
Pickup is available from our Melbourne, Sydney and Brisbane warehouses, by advance order only: place your order first and we will let you know when it is ready to collect.
Returns
We offer a 40-day hassle-free returns policy. If you are not completely satisfied with your purchase, contact our team and we will arrange a return. Items must be unused and in original packaging.
Warranty
All products come with an Australian replacement warranty covering manufacturing defects. If a product has a manufacturing defect, we will replace it free of charge including shipping.
15 boxes 240 tiles, 38.4 m²
Real garages, real customers
Real Aussie installs using this range — tap any photo to explore the build.