How to Install Garage Floor Tiles
Installing your Sleek Space garage floor tiles is a simple, satisfying project that completely transforms your space.
Below, you’ll find a short installation video and a clear visual guide to help you achieve the best possible result — even if it’s your first time laying tiles.
How to Install Sleek Space Garage Floor Tiles (Step-by-Step Video)
Visual Installation Guide (with Downloadable PDF)
-
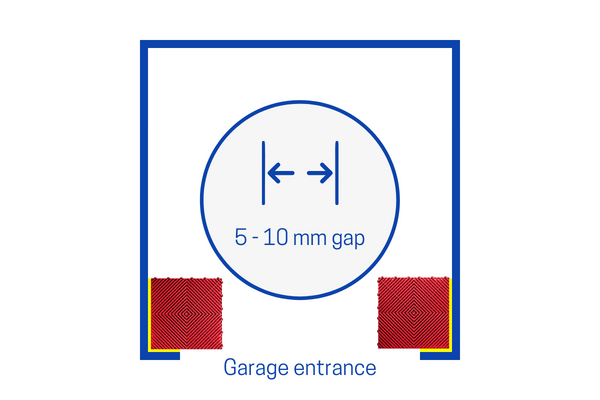
1. Start from the entrance
Begin by laying tiles at either corner of the entrance. Leave a 10mm gap with the walls for expansion.
-
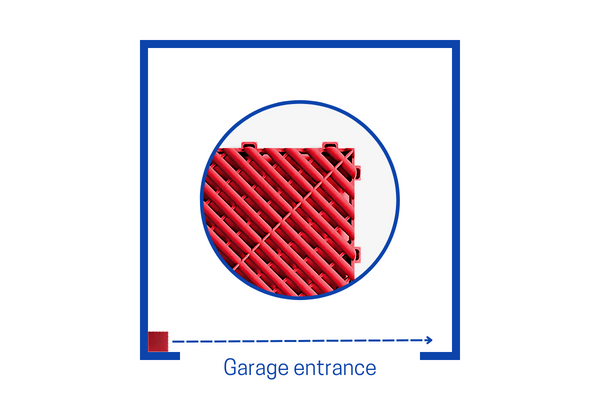
2. Lay the first row
Ensure the female (looped) sides face away from the entrance and the wall as shown. Finish laying the first row.
-
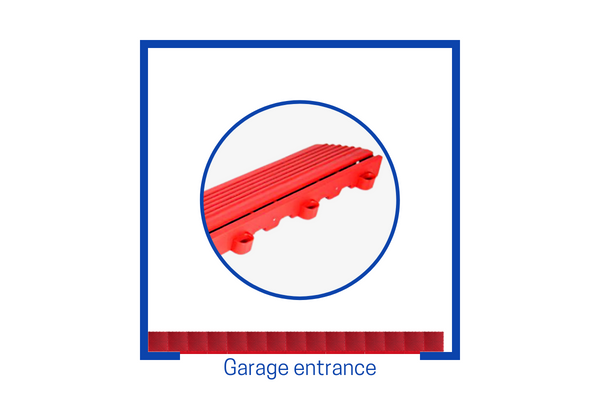
3. Add ramps
Attach your female (looped) ramps to the male (pegged) tile sides facing the outside.
-
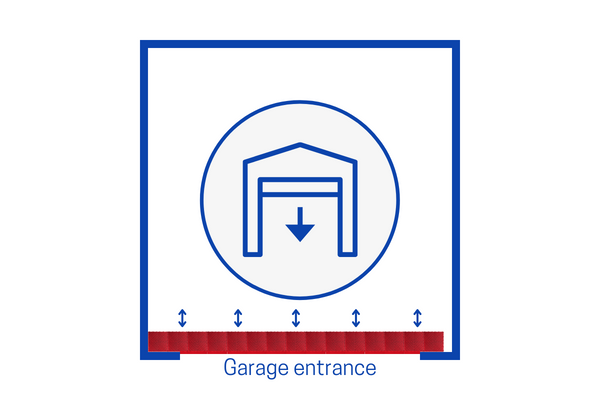
4. Adjust against door
Move your first row of tiles and ramps to ensure a good fit against the garage door when closed.
-
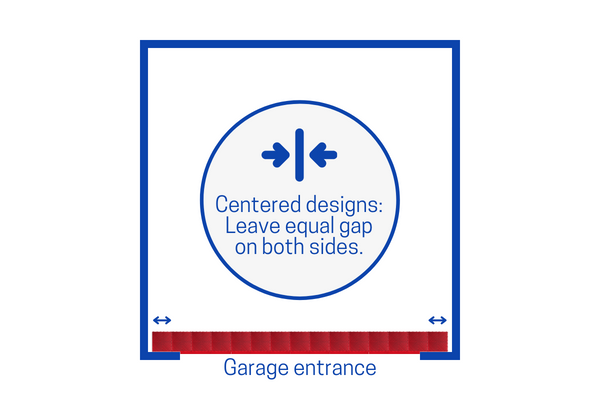
5. Centered designs (optional)
If your design has a pattern which should be centered, adjust the first row of tiles to leave an equal gap on both sides.
-
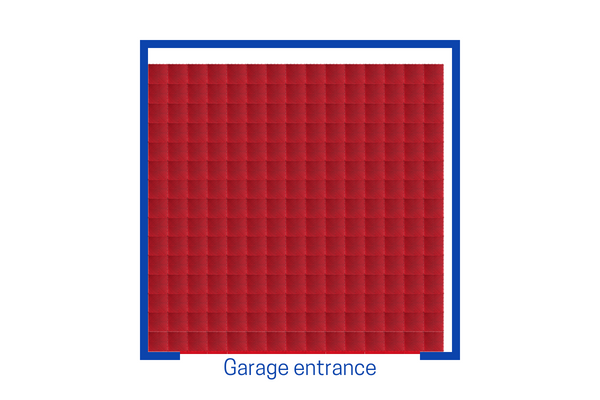
6. Lay remaining tiles
Finish laying the remaining tiles to the back and opposite walls. Stop at the final rows if they require cutting for a perfect fit.
-
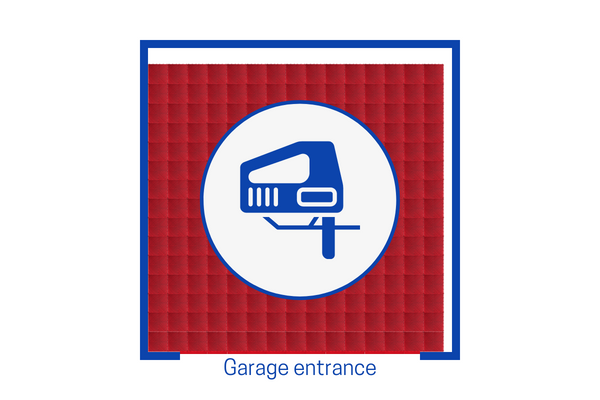
7. Cut tiles (optional)
Use any cutting tool to cut and fit in the final rows of tiles. We recommend using a jigsaw with a fine-toothed blade.
-
8. Enjoy your new floor
Your new floor is now complete. You can start using it immediately.
Need Help?
-
Call Us
1300 148 799
-
Email Us
info@sleekspace.com.au
-
Find Us (by appointment)
162A Australis Drive, Derrimut VIC 3026


